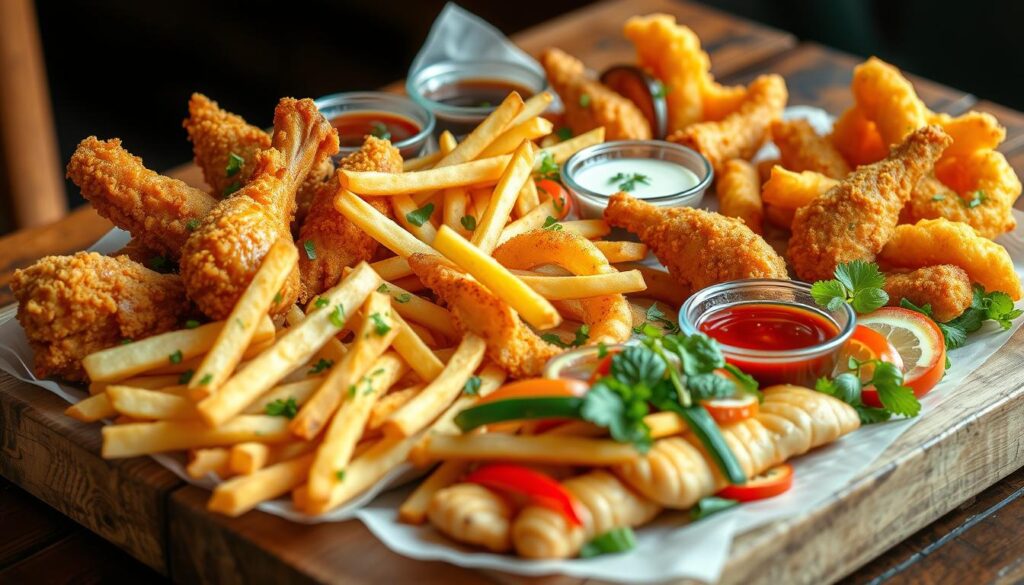
The aroma of golden-brown fried chicken, a staple of my childhood, remains a cherished memory. Its irresistible crunch and the juicy, flavorful meat epitomized our Sunday family gatherings. As an adult, the desire for that same delectable fried experience persisted, despite the perceived complexity of deep-frying at home. It was not until I uncovered the secrets to replicating restaurant-quality fried dishes in my kitchen that the intimidation dissipated.
Key Takeaways
- Understand the science behind deep frying for optimal results
- Invest in the right equipment to make home frying a breeze
- Select the best oils with high smoke points for superior crispiness
- Master temperature control techniques for perfectly cooked fried foods
- Discover the best coating methods for a delectable crispy crust
This comprehensive guide will navigate you through the critical steps to becoming a fried food virtuoso in your own abode. From the selection of appropriate equipment and oils to the refinement of the coating and frying techniques, you will acquire the knowledge to craft dishes that rival those found in restaurants. Prepare to enhance your culinary prowess and savor the unparalleled delight of perfectly fried food.
Understanding the Science Behind Deep Frying
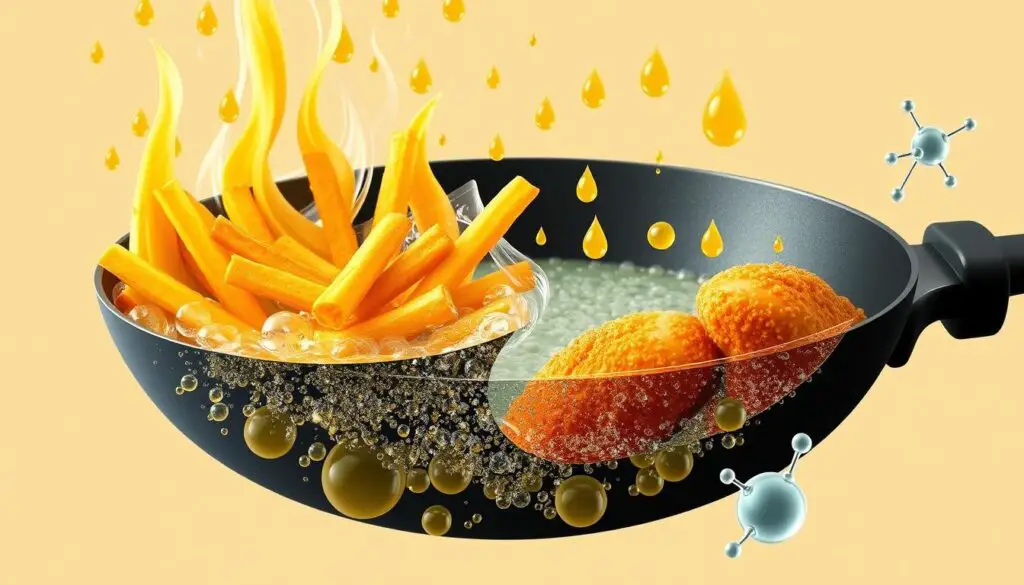
Deep-frying, a technique spanning centuries, has enthralled culinary aficionados globally. It involves immersing food in scorching oil, typically between 350-375°F (177-191°C), to achieve a crispy, golden-brown exterior and a soft, delectable interior. This method’s allure stems from the intricate science behind it, encompassing heat transfer, chemical reactions, and temperature control.
The Maillard Reaction Process
The Maillard reaction, a pivotal chemical process, underpins the perfection of deep-fried dishes. It occurs when proteins and sugars in the food are subjected to high heat, resulting in the creation of hundreds of unique flavor compounds. These compounds are responsible for the distinctive aroma and taste of deep-fried, crispy, oil-cooked, and golden brown foods. Grasping the Maillard reaction is essential for mastering deep frying at home.
Heat Transfer in Frying
The success of deep frying hinges on the efficient transfer of heat from the hot oil to the food. As the food is submerged, the oil rapidly heats the outer layers, locking in moisture and creating a crispy crust. This process is facilitated by the high thermal conductivity of the oil, ensuring even cooking and a consistent golden brown finish.
Oil Temperature Science
Maintaining the optimal oil temperature is crucial for achieving perfectly deep-fried, crispy results. The temperature range between 350-375°F (177-191°C) is the sweet spot for deep frying, allowing for efficient heat transfer and the activation of the Maillard reaction. Carefully monitoring and adjusting the oil temperature is a key skill for home cooks to master.
“Deep-frying is a popular cooking method globally, with deep-fried foods accounting for a significant portion of global caloric consumption.”
By delving into the underlying science of deep frying, home cooks can unlock the secrets to consistently creating crispy, golden brown, and utterly delicious fried dishes in their own kitchens.
Essential Equipment for Home Frying
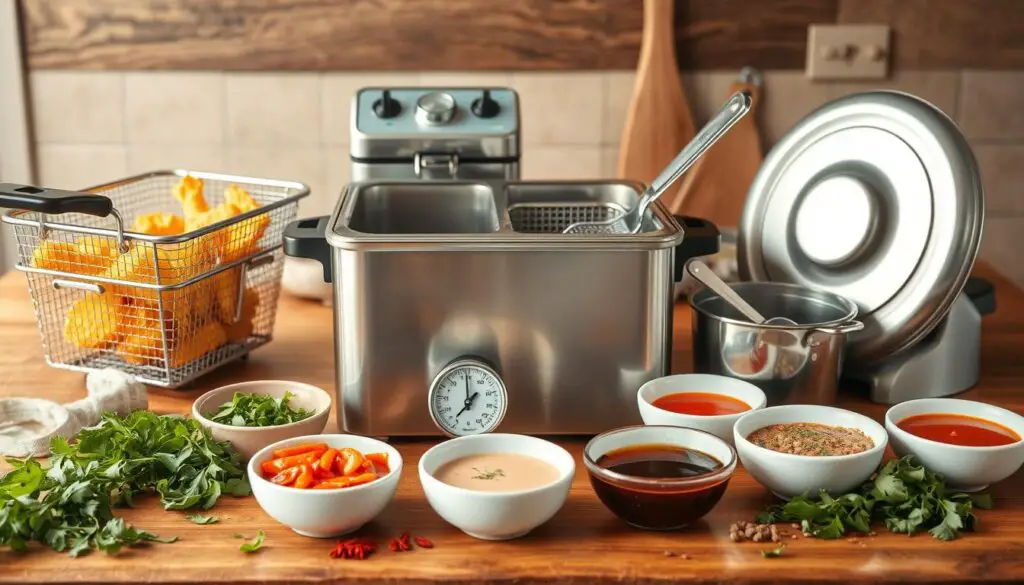
To replicate the excellence of restaurant-fried dishes within one’s domicile, the acquisition of appropriate tools and apparatus is paramount. A deep, heavy-bottomed vessel, akin to a Dutch oven or a dedicated home deep fryer, is indispensable for the safe containment of scorching oil and the prevention of splatter. Furthermore, the following items are deemed indispensable for the frying process:
- Long cooking chopsticks for the gentle immersion and manipulation of foodstuffs
- Metal tongs for the handling of robust fried items
- A slotted spoon or stainless steel spider strainer for the lifting and draining of fried edibles
- A wire rack and baking sheet for the draining of excess oil from fried creations
- A fine-mesh skimmer to extract food particles from the oil
- An instant-read cooking thermometer for the monitoring of oil temperature
- Optional items such as a splatter screen and 3-sided splatter guard for enhanced safety
Irrespective of the specific deep fryer or pot employed, a firm, stable surface is imperative for the safe and controlled frying process within the home environment. Armed with the correct frying tools and apparatus, one is well-positioned to master the art of home-fried culinary endeavors.
“By Oct. 14, 2024, the air fryer is noted as America’s favorite kitchen appliance.”
Although air fryers present a healthier alternative, a traditional home deep fryer or Dutch oven remains essential for attaining the quintessential crunch and flavor in numerous fried dishes. With the appropriate tools and methodologies, one can unveil the secrets to replicating restaurant-quality fried delicacies within one’s own kitchen.
Selecting the Best Oils for Deep Frying
In the realm of home deep frying, the selection of the appropriate oil is paramount for achieving the quintessential crispness and flavor. The pivotal considerations revolve around high smoke point and neutral flavor.
High Smoke Point Oils
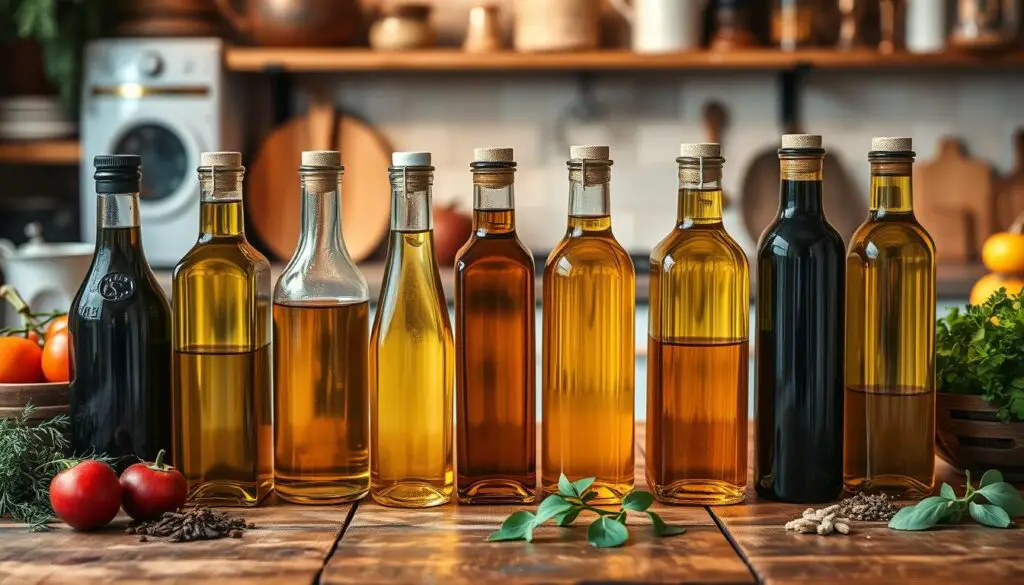
To optimize deep frying outcomes, oils with a smoke point exceeding 400°F are imperative. Noteworthy choices include:
- Vegetable oil
- Canola oil (smoke point 425-475°F)
- Rice bran oil
- Corn oil
- Sunflower oil (smoke point 440-450°F)
- Peanut oil (smoke point 425-450°F)
- Safflower oil (smoke point 440-450°F)
Neutral Flavor Options
Alongside a high smoke point, the ideal frying oils must exhibit a neutral taste profile, unobtrusive to the culinary essence of your creations. Oils with pronounced flavors, such as extra virgin olive oil, are suboptimal due to their relatively low smoke point, approximately 320°F.
Oil Reuse Guidelines
Regarding oil temperature for frying, used oil can be filtered and reused 1-2 times if it appears clean. However, it necessitates proper disposal when it exhibits cloudiness, foaminess, or an unpleasant odor.
Temperature Control Techniques
The art of achieving perfectly crispy, golden-brown fried foods at home hinges on the precise maintenance of oil temperature. Whether the endeavor involves oil temperature for crispy fries or the preparation of cooking fried foods such as chicken or doughnuts, the pivotal factor is the control over temperature. This control is not merely a nicety but a necessity for culinary success.
Investment in a reliable instant-read thermometer is imperative for accurately monitoring the oil’s temperature. For those without access to such technology, the panko or chopstick method can serve as a makeshift gauge. These methods are particularly useful in determining the oil’s readiness for frying. It is essential to note that different dishes necessitate varying temperature ranges, typically spanning from 285°F to 400°F. Therefore, one must be prepared to adjust the heat as necessary to maintain a consistent frying temperature throughout the cooking process.
- Utilize an instant-read thermometer to regularly check the oil temperature and make adjustments accordingly.
- Employ the panko or chopstick test to quickly assess if the oil is at the right temperature for frying.
- Maintain the oil temperature between 350°F and 375°F for optimal cooking fried foods.
- Adjust the heat source as needed to keep the oil temperature constant, avoiding fluctuations that can lead to uneven cooking.
| Food Item | Ideal Oil Temperature |
|---|---|
| French Fries | 325°F – 375°F |
| Chicken | 350°F – 375°F |
| Doughnuts | 350°F – 375°F |
| Fish | 350°F – 375°F |
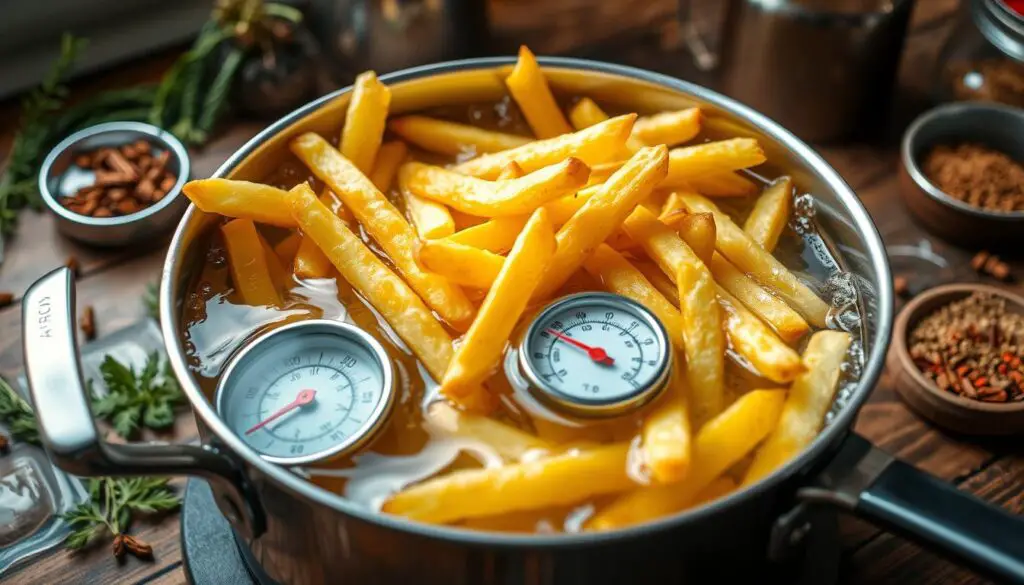
“Maintaining the correct oil temperature is the key to achieving perfectly crisp and golden-brown fried foods every time.”
By mastering the art of temperature control, one can effortlessly produce restaurant-quality oil temperature for crispy fries and other delectable fried delights within the confines of their own kitchen.
The Perfect Fried Coating Methods
The pursuit of a crispy, golden-brown coating on fried foods epitomizes the culinary aspirations of home cooks. The essence of success lies in the mastery of breading and batter techniques. Whether the endeavor involves battered chicken, breaded fish, or crispy vegetables, these guidelines will facilitate the achievement of a consistently perfect fried coating.
Breading Techniques
The foundation of a classic breaded coating begins with a flour mixture. This mixture should incorporate all-purpose flour alongside seasonings such as garlic salt, paprika, and black pepper. The food should then be dredged in this seasoned flour, ensuring an even coating. Subsequently, the items should be dipped in a beaten egg or milk mixture to enhance the breading’s adhesion. The final step involves coating the food in breadcrumbs or panko, or a combination thereof, to achieve a crispy coating.
Batter Preparation Tips
- Utilize room-temperature ingredients for the batter, as cold batter can cause splattering in hot oil.
- Pat the food dry before dipping it in the batter to ensure a crispy, even coating.
- To achieve a thicker, battered texture, incorporate a bit of cornstarch or beer into the batter mixture.
Seasoning Secrets
Embrace the opportunity to innovate with your seasoning blends. Combine spices like garlic powder, onion powder, cayenne pepper, or Old Bay to craft your own unique crispy coating. Exploring diverse flavor profiles can elevate your fried dishes to unparalleled heights.
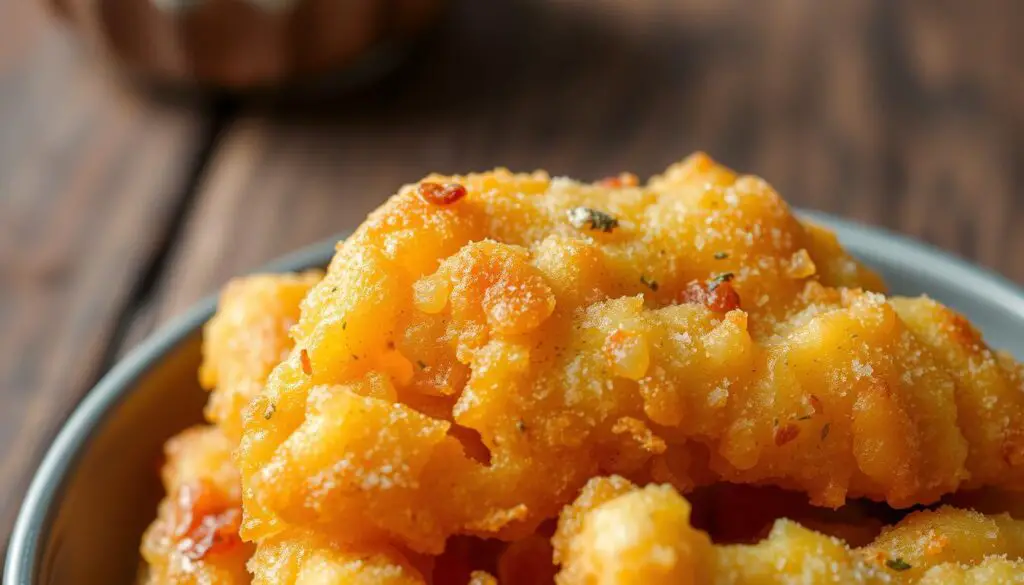
“The key to a perfectly fried coating is all in the preparation and attention to detail. With a little practice, you’ll be frying up restaurant-worthy battered and breaded dishes in no time.”
Safety Precautions for Home Frying
In the realm of home frying, prioritizing safety is paramount. The allure of fried delicacies must not overshadow the risks inherent in their preparation. Adherence to fundamental safety protocols ensures the enjoyment of crispy, flavorful fried creations without compromising personal well-being.
Eliminating combustible items from the vicinity of the stove is a critical safety measure. This includes paper towels, oven mitts, and other flammable materials susceptible to ignition from hot oil. Furthermore, it is imperative to never introduce water to hot oil, as this can precipitate dangerous splattering and potentially ignite a grease fire.
Continuous vigilance is indispensable when engaging in home frying. Never abandon the cooking station, as oil can rapidly overheat and ignite. Employing long-handled utensils maintains a safe distance from the hot oil, and children must be barred from the frying zone.
In the event of a fire, prompt and appropriate response is crucial. Never employ water to quell a grease fire, as it can exacerbate the blaze. Instead, have a fire extinguisher rated for Class B or K fires readily available, or utilize baking soda to smother the flames. If the fire proves uncontrollable, evacuate the premises immediately and summon emergency services by dialing 911.
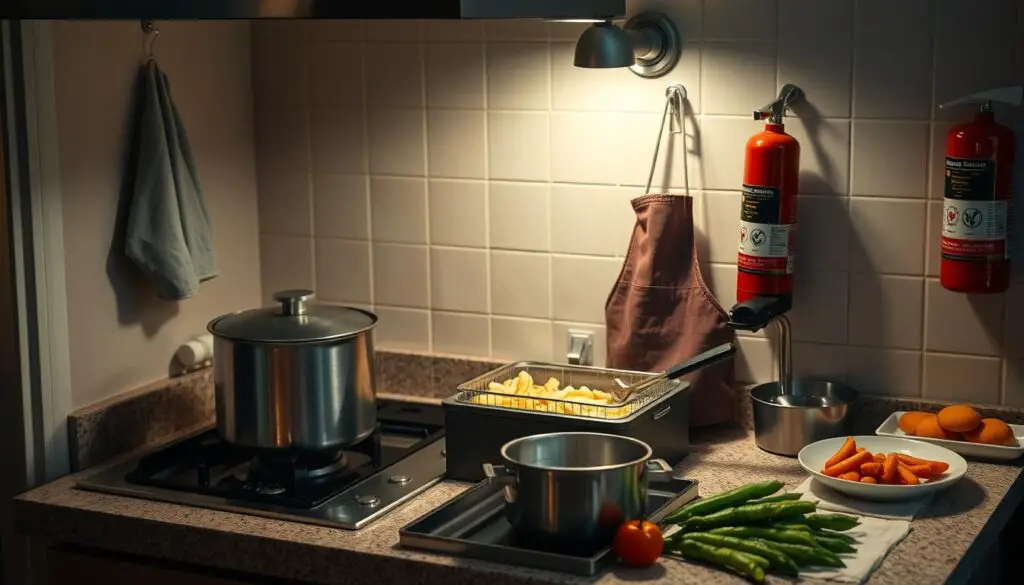
Adherence to these elementary safety measures enables the enjoyment of home-fried delicacies while mitigating associated risks. Remember, frying safety and how to fry without splatter are paramount for those aspiring to replicate restaurant-quality fried dishes within their own kitchens.
Common Deep Frying Mistakes to Avoid
Embarking on the journey of deep frying at home can significantly elevate your culinary prowess. However, it is imperative to circumvent common errors that can mar your creations. This discourse aims to elucidate prevalent pitfalls to sidestep for frying tips for beginners and simplifying deep frying made easy.
Temperature Management Errors
Accurate oil temperature regulation is paramount for deep frying success. A temperature dip below the optimal range can yield soggy, greasy outcomes, whereas excessive heat can burn and impart a bitter taste to your dishes. A deep-fry thermometer is an indispensable tool, ensuring the oil remains within the 325°F to 375°F spectrum for superior results.
Oil Selection Problems
The selection of the appropriate oil is fundamental to deep frying. Refrain from utilizing oils with low smoke points, as they are prone to burning and imparting unfavorable flavors. Instead, select high smoke point oils such as peanut, canola, or vegetable oil. Furthermore, consider the oil’s flavor profile, as robust-tasting oils like olive oil can dominate the natural flavors of your food.
Food Preparation Mistakes
- Dry your food thoroughly before frying to prevent splattering and ensure a crispy exterior.
- Bring your food to room temperature before frying to ensure even cooking.
- Avoid overcrowding the frying pan, as it can lower the oil temperature and result in soggy, greasy food.
- Properly season your food before frying to infuse it with delicious flavors.
By avoiding these common pitfalls, you will be well on your way to mastering frying tips for beginners and achieving deep frying made easy in your kitchen.
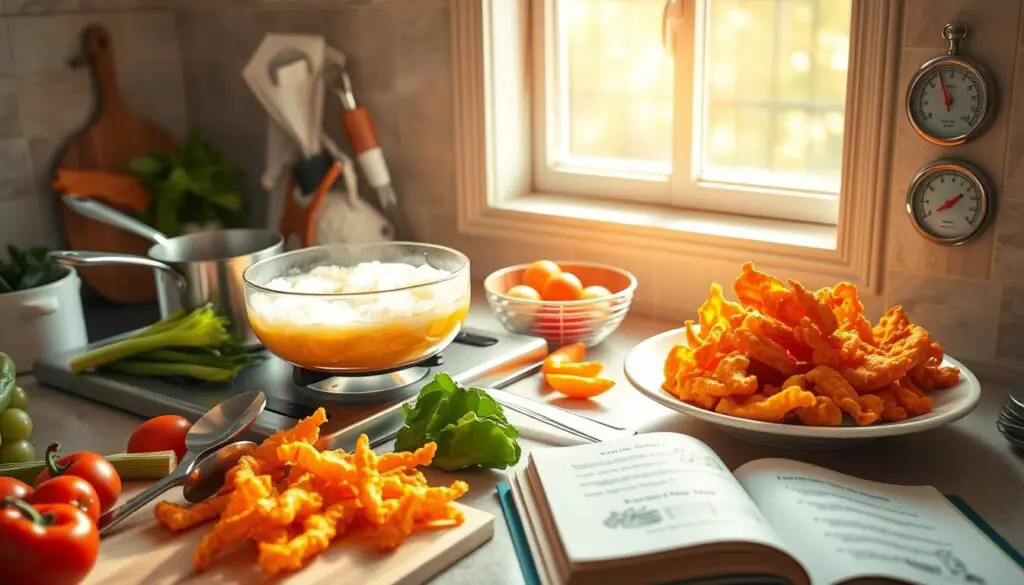
Best Tools for Deep Fried Success
To achieve the quintessential deep-fried culinary experience at home, one must invest in the appropriate tools and equipment. The selection of an ideal frying vessel, coupled with specialized accessories, significantly influences the outcome of your gastronomic endeavors.
At the core of your frying arsenal should be a heavy-bottomed pot or a dedicated deep fryer. These robust containers are pivotal in maintaining a consistent oil temperature and minimizing splatter risks. To enhance your frying process, incorporate long-handled utensils such as spider strainers or slotted spoons, which facilitate the safe retrieval of fried items from the scorching oil.
Utilizing a food thermometer is indispensable to ensure the oil’s temperature stays within the ideal range, generally between 340-350°F (170-180°C) for most fried foods. A fine-mesh skimmer proves invaluable in clearing debris or crumbs between batches, thereby maintaining the oil’s cleanliness and prolonging its lifespan.
For enhanced safety and convenience, consider acquiring a splatter guard. This crucial accessory significantly reduces mess and shields you from hot oil splatters during the frying process. Tongs serve as a versatile tool for effortlessly handling and transferring fried items to a cooling rack, facilitating the draining of excess oil for an impeccable crisp finish.
By curating a comprehensive collection of frying tools, you will be well-equipped to excel in the art of deep-fried mastery within your kitchen.
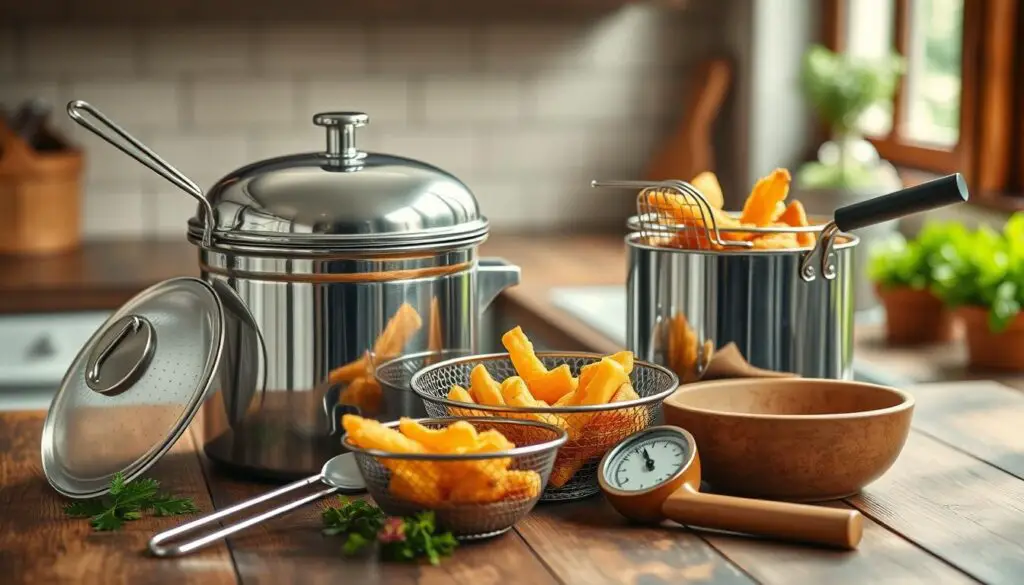
“The key to successful home frying is having the right equipment on hand. From a reliable deep fryer to essential tools like slotted spoons and thermometers, the tools you choose can make or break your fried dishes.”
Mastering Crispy Chicken Techniques
To achieve the quintessential crispy fried chicken at home, a synergy of appropriate preparation methods and frying techniques is imperative. The essence of delectable crispy fried chicken resides in the marinade, coating, and precise temperature control during frying.
Initiate by marinating chicken pieces, such as thighs and drumsticks, in a savory buttermilk mixture for 2-4 hours. This step tenderizes the meat and imbues it with exquisite seasoning. Subsequently, concoct a seasoned flour blend, incorporating kosher salt, black pepper, garlic powder, and cayenne pepper, to forge that quintessential crispy fried chicken crust.
- Employ the double-dip technique for the chicken pieces in the seasoned flour for unparalleled crispiness. This method guarantees an even, dense coating, ensuring a gratifying crunch with each morsel.
- Regulate the oil temperature between 325°F and 350°F during frying. Observing the bubble size around the chicken offers insight into the oil’s temperature, facilitating necessary adjustments.
- Fry the chicken in small batches to prevent overcrowding, which can lower the oil temperature. This step is pivotal for achieving the coveted golden-brown hue and uniform cooking.
- After the chicken reaches optimal crispiness, allow it to rest on a wire rack for 10 minutes before serving. This interval permits the juices to redistribute, ensuring a moist, flavorful interior beneath the irresistible crust.
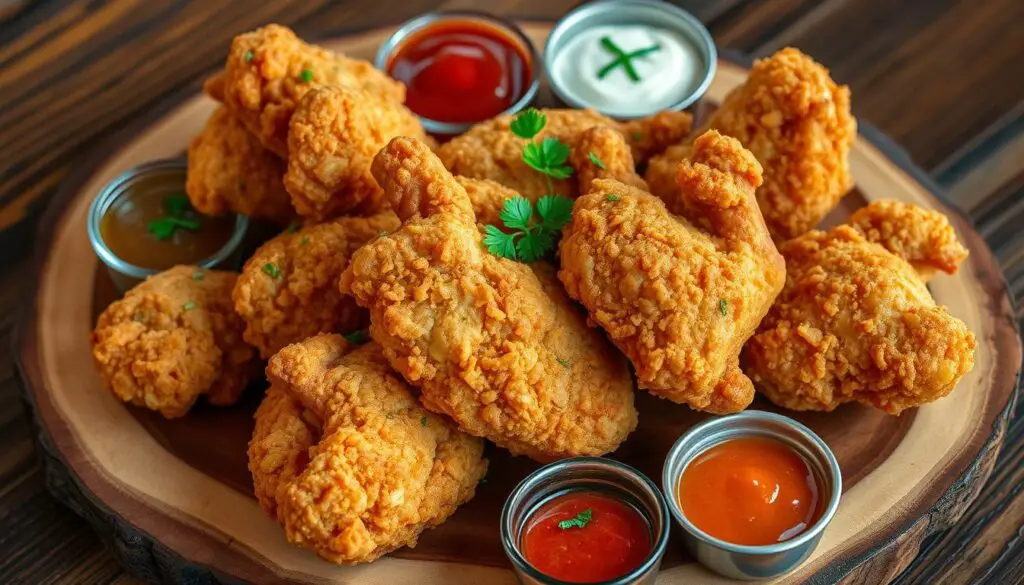
Adopting these techniques will empower you to excel in the art of crispy fried chicken, delighting your family and friends with your homemade culinary prowess. Explore diverse seasoning blends and oil varieties to discern your unique flavor signature and revel in the joy of successfully how to fry chicken at home.
Perfect French Fries at Home
The pursuit of achieving a crispy, golden-brown exterior coupled with a fluffy interior for crispy fries at home may initially appear daunting. However, with the adoption of appropriate techniques, one can adeptly navigate the complexities of perfect fried potatoes within the confines of their kitchen.
Cutting Methods
The initial step towards achieving ideal fries involves the selection and cutting of potatoes. Opt for Idaho potatoes, renowned for their high starch content and low moisture levels. Conversely, waxy potatoes such as red-skinned, new, or fingerling varieties should be avoided due to their higher water content, which can result in soggy fries.
Subsequently, the potatoes should be cut into uniform, thin strips, measuring approximately 1/4 to 1/2 inch in thickness. This uniformity ensures even cooking. Following the cutting process, the fries should be submerged in cold water for at least 30 minutes. This step is crucial for removing excess starch, a factor that can impede the fries’ ability to crisp up.
Double Frying Process
The double-frying method is pivotal in replicating the quality of crispy fries at home akin to those found in restaurants. The initial frying stage occurs at a lower temperature of 325°F, lasting between 6 to 8 minutes. This initial fry is instrumental in cooking the interior of the fries.
Post-drainage, the fries should be allowed to rest for a minimum of 15 minutes but no longer than an hour. Subsequently, the second frying stage takes place at a higher temperature of 375°F, lasting 2 to 3 minutes. This final fry is responsible for crafting the desired crispy exterior while maintaining a light and fluffy interior.
Seasoning Tips
Upon completion of the second fry, the fries should be seasoned with your preferred spices or seasonings while they are still hot. This timing is critical as it ensures the flavors adhere to the fries. Classic seasoning options include salt, garlic powder, or a combination of herbs and spices. The optimal enjoyment of your homemade, fried potatoes is immediate, as it preserves their crispiness and flavor.
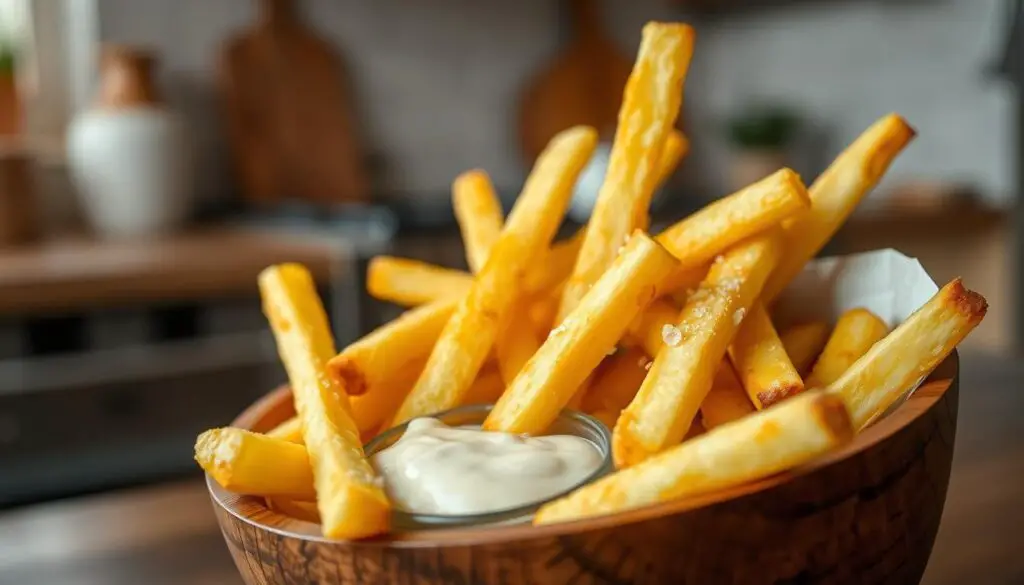
How to Achieve Restaurant-Style Fried Food
Aspiring to replicate the quintessential, crispy fried delicacies found in restaurants within your domestic environment? The attainment of such culinary excellence hinges upon the adoption of several pivotal techniques. Initiate by selecting the freshest, superior-grade ingredients available. Achieving a consistent oil temperature, ideally around 350°F, is paramount for optimal outcomes. It is imperative to avoid overcrowding the fryer, as this can precipitate a decline in oil temperature, resulting in uneven cooking.
The art of breading is fundamental to achieving that coveted crunch. Prepare a seasoned flour mixture, incorporating a blend of kosher salt, black pepper, cayenne, garlic powder, and onion powder. For an even more indulgent coating, consider brining the protein beforehand. Brining chicken for 8 hours in a solution of water, salt, sugar, herbs, and spices significantly enhances its juiciness and tenderness.
Post-frying, ensure the fried items are drained on a wire rack rather than paper towels to maintain the crispiness of the crust. Vigilance in timing is crucial; overcooking can result in a bitter, dry outcome. The ideal cooking duration for fried chicken, for instance, spans 12 to 25 minutes, contingent upon the specific cut.
| Chicken Cut | Cooking Time |
|---|---|
| Thighs and Drumsticks | 20-25 minutes |
| Chicken Breasts | 12-15 minutes |
By adhering to these restaurant-style methodologies, you will be able to attain crispy, golden-brown fried food with a moist, flavorful interior – mirroring the quality of your preferred dining establishments.
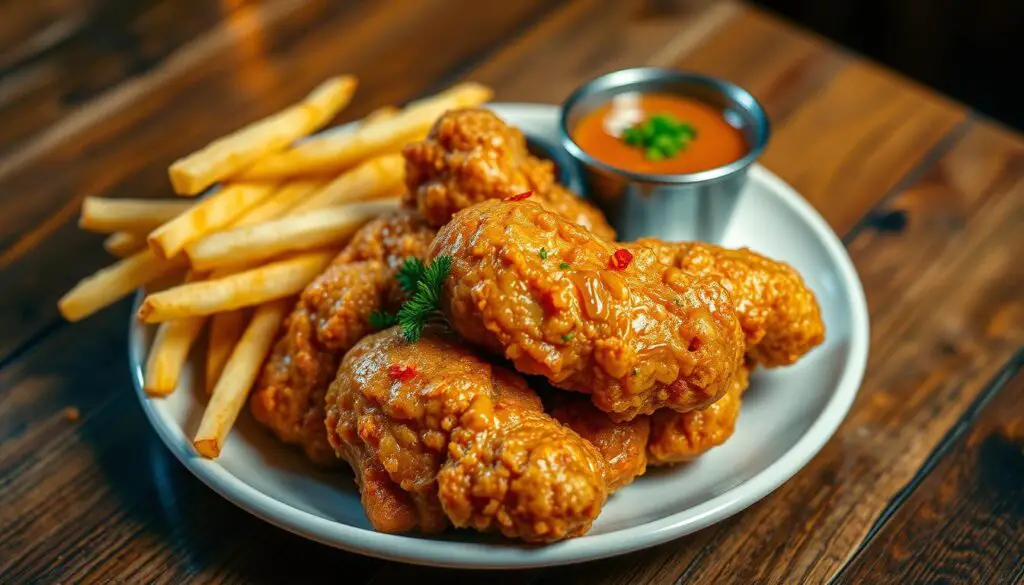
“The secret to amazing fried food at home is all in the preparation. With a few simple tricks, you can recreate that signature restaurant-quality crunch and flavor.”
Oil Maintenance and Storage
Proper frying oil maintenance and storage are paramount for consistently achieving crispy, golden-brown fried dishes at home. Adherence to a few elementary steps can significantly prolong the lifespan of your frying oil, thereby ensuring optimal flavor for every batch of fries, chicken, or other fried delights.
Filtering for Freshness
Following each frying session, allow the oil to cool completely before straining it through a fine-mesh strainer or cheesecloth. This step removes any food particles that could hasten oil degradation. Regularly skimming the fryer every 15 minutes also aids in maintaining oil cleanliness and enhancing food quality consistency.
Proper Storage Techniques
- Store the filtered oil in a sealed container in a cool, dark place, away from direct sunlight and heat sources.
- Consider adding a small amount of fresh oil to the used oil each time you cook to help extend its lifespan.
- Discard the oil if it becomes thick, dark, or develops an unpleasant rancid smell, as these are signs that the oil has degraded and should no longer be used for frying oil storage or oil for crispy frying.
Responsible Disposal
When it’s time to replace your cooking oil, ensure proper disposal in accordance with local guidelines. Many communities offer recycling programs that convert used cooking oil into biodiesel, ensuring an environmentally responsible way to manage this byproduct of home frying.

By adhering to these simple oil maintenance and storage practices, you can consistently enjoy the perfect crispy texture and golden color of fried dishes at home. Proper care and handling of your frying oil are the keys to unlocking the secrets of oil for crispy frying.
Healthy Alternatives to Traditional Fried Foods
For those who desire the satisfying crunch of fried foods yet wish to avoid the associated guilt, several innovative alternatives exist. The air fryer stands out as a kitchen appliance that employs hot air circulation to achieve a crispy texture with minimal oil. By fine-tuning the temperature and cooking duration, one can replicate the beloved fried food experience, significantly reducing calorie and fat content.
Air Fryer Methods
Air fryers have emerged as a favored choice for healthier frying, capable of producing crispy results with up to 80% less fat than traditional deep frying. By experimenting with different air fryer settings, one can discover the ideal balance of crispness and flavor. It is crucial to monitor the cooking process to prevent overcooking or drying out the food.
Oil-Free Alternatives
Aside from air frying, other oil-free techniques can also provide a satisfying fried food experience. Oven-baking on a wire rack allows for superior air circulation, resulting in a crisper finish. Breading with whole grain breadcrumbs or crushed nuts adds nutritional value and a satisfying texture. For a light coating, employing a spray oil to lightly coat the food before cooking is preferable to submerging it in oil.
FAQ
What are the benefits of deep-frying at home?
Deep-frying, a cornerstone of culinary arts, enables the creation of delectable, restaurant-quality fried delicacies within one’s domicile. It offers unparalleled texture and flavor, thanks to the Maillard reaction and caramelization. Moreover, when executed correctly, it can also be a healthier option.
What essential equipment is needed for home frying?
For successful home frying, a deep, heavy-bottomed pot, such as a Dutch oven, or a dedicated deep fryer is indispensable. Additionally, long cooking chopsticks, metal tongs, and a slotted spoon or stainless steel spider strainer are crucial. A wire rack and baking sheet for draining, a fine-mesh skimmer, and an instant-read cooking thermometer are also necessary. Optional tools include a splatter screen and 3-sided splatter guard.
What types of oils are best for deep frying at home?
Opt for oils with a high smoke point (at least 400°F) and a neutral flavor profile. Suitable options include vegetable, canola, rice bran, corn, sunflower, peanut, and safflower oils. Conversely, butter, shortening, and olive oil are not recommended due to their low smoke points.
How do I maintain the correct oil temperature for perfect frying?
An instant-read thermometer is essential for precise temperature monitoring. Alternatively, employ the panko or chopstick test to gauge the temperature. Different foods necessitate varying temperatures, ranging from 285°F to 400°F. It is imperative to adjust the heat as necessary to maintain a consistent temperature throughout the frying process.
What are the best techniques for achieving a crispy coating?
Employ simple batters or breading mixtures, combining flour with seasonings and egg for adhesion. For enhanced crunch, incorporate breadcrumbs. Ensure all ingredients are at room temperature and dry before coating to prevent oil splattering and ensure even cooking.
What are the most important safety precautions for home frying?
Remove combustible items from the vicinity of the stove and avoid adding water to hot oil. Never leave cooking unattended. Utilize long-handled tools to maintain a safe distance, and keep children away from the frying area. In the event of a fire, never use water; instead, employ a fire extinguisher or baking soda to smother flames.
What are some common mistakes to avoid when frying at home?
Common pitfalls include allowing the oil temperature to drop, overcrowding the pan, and adding cold food to hot oil. Avoid using oils with low smoke points or strong flavors. Ensure food is dry and at room temperature before frying. Do not reuse oil excessively, and always strain it between uses to remove food particles that can burn and affect flavor.
How do I achieve restaurant-quality fried chicken at home?
To replicate restaurant-quality fried chicken, utilize a buttermilk marinade to tenderize the meat. Create a seasoned flour mixture for coating and double-dip for extra crunch. Maintain an oil temperature between 325°F and 350°F for even cooking. Fry in batches to avoid overcrowding, and let the chicken rest on a wire rack to maintain crispiness.
What is the secret to making perfect homemade french fries?
For perfect homemade french fries, cut potatoes uniformly for even cooking. Soak cut fries in cold water to remove excess starch. Employ the double-frying method: first fry at a lower temperature (around 325°F) to cook the interior, then fry again at a higher temperature (375°F) for a crispy exterior. Season immediately after the second fry while still hot.
How do I properly store and maintain frying oil?
Allow oil to cool completely, then strain through a fine-mesh strainer or cheesecloth to remove food particles. Store in a sealed container in a cool, dark place. To extend oil life, add a small amount of fresh oil each time you cook. Discard oil if it becomes thick, dark, or smells rancid, and dispose of it properly according to local guidelines.
What are some healthier alternatives to traditional fried foods?
Consider using an air fryer, which employs hot air circulation to achieve a crispy texture with minimal oil. Experiment with oven-baking techniques using a wire rack to allow air circulation. Try breading with whole grain crumbs or crushed nuts for added nutrition. Use spray oils to lightly coat food before cooking for a crispy finish with less fat.


